
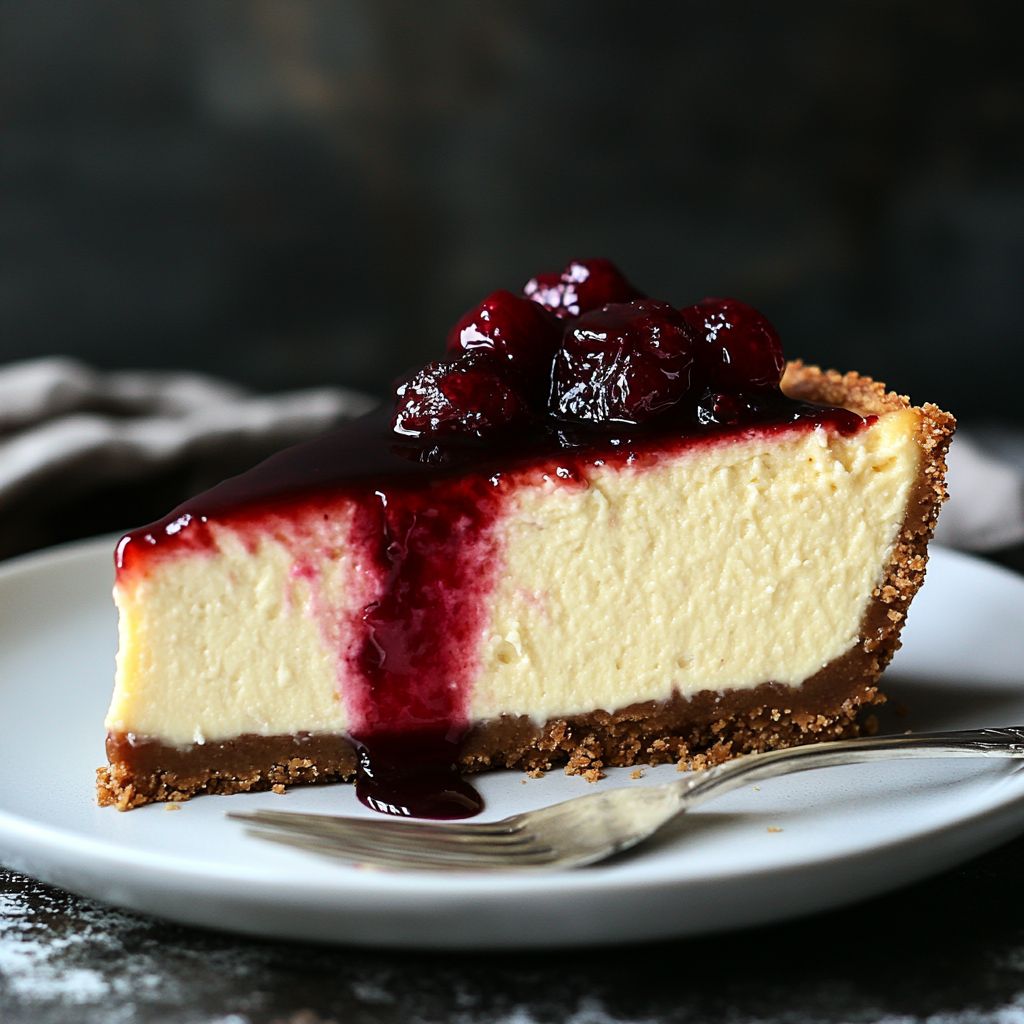
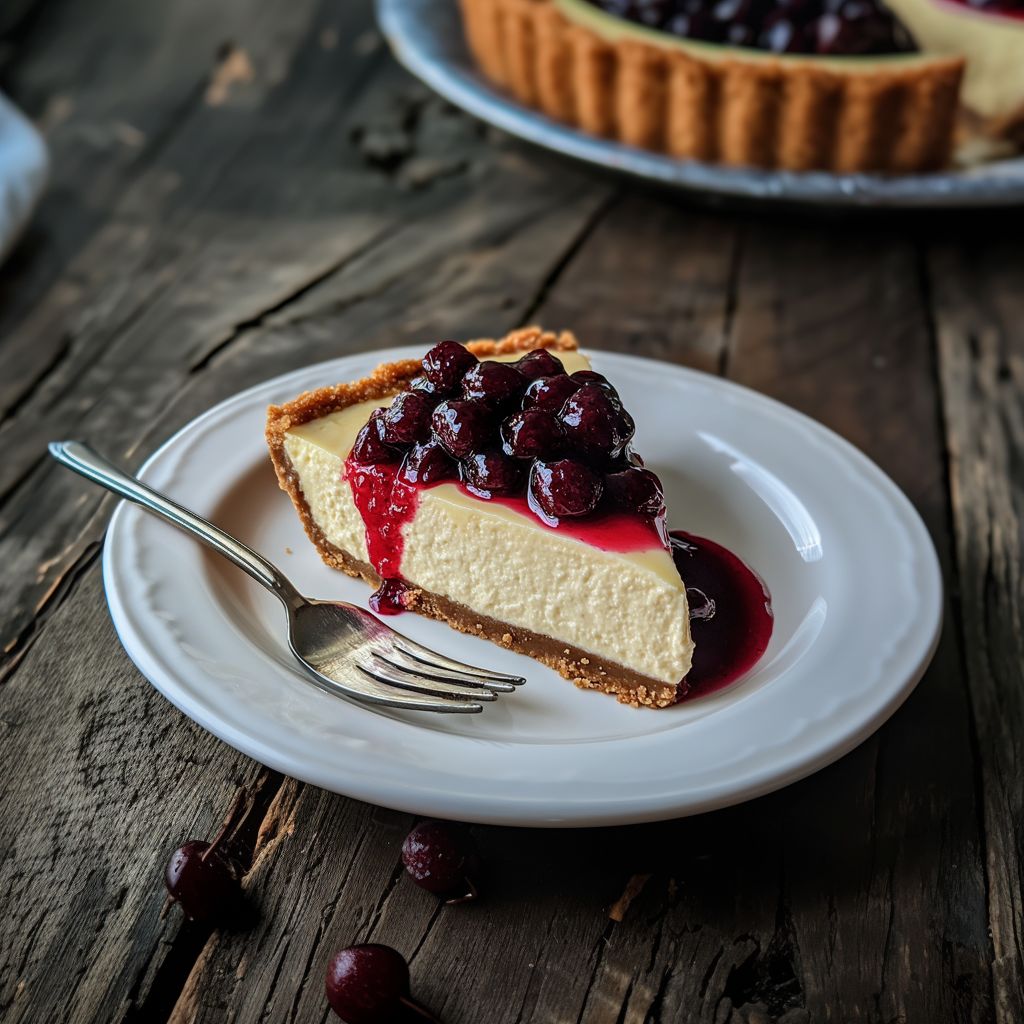
There’s something undeniably elegant about a classic cheesecake.
Smooth, rich, and lightly sweet, this dessert has stood the test of time—and for good reason.
Whether you’re preparing it for a holiday gathering or a weekend indulgence, this recipe will walk you through every step to achieve a silky texture and perfect bake every time.
Why You’ll Love This Recipe
Incredibly Creamy Texture – Thanks to plenty of cream cheese and gentle baking
Reliable Results – Uses a water bath for even cooking and no cracks
Simple Ingredients – You likely already have most in your kitchen
Great for Make-Ahead – Best when chilled overnight, so perfect for prepping ahead
Timeless Flavor – Subtle vanilla and tangy sour cream for perfect balance
What You’ll Need (Ingredient Highlights)
Graham Cracker Crust – Buttery, slightly sweet, and sturdy enough to hold the creamy filling
Cream Cheese – The heart of any cheesecake, use full-fat blocks for best results
Granulated Sugar – Sweetens without overpowering the tang of cream cheese
Eggs – Help set the custard-like texture and add richness
Sour Cream – Adds tang and a velvety finish to the filling
Vanilla Extract – Enhances the natural flavor without being too bold
Pro Tips Before You Start
Bring Ingredients to Room Temperature – Prevents lumps in your batter and ensures smooth blending
Wrap the Pan Tightly – Use heavy-duty foil to keep water out during the water bath
Avoid Overmixing – Too much air can lead to cracks while baking
Use a Water Bath – Provides gentle, even heat to prevent drying or cracking
Cool Gradually – Letting it cool in the oven before chilling is key to a smooth texture
How to Make Classic Cheesecake
Step 1 – Prepare the Crust
Crush graham crackers into fine crumbs using a food processor or by placing them in a zip-top bag and rolling with a pin.
In a mixing bowl, combine crumbs with melted butter and sugar, stirring until evenly moistened.
Press the mixture firmly into the bottom of a 9-inch springform pan, allowing it to come slightly up the sides.
Bake at 350°F for 8 minutes, then set aside to cool completely.
Step 2 – Wrap the Pan
Once the crust is cool, place the pan in the center of two large sheets of heavy-duty foil.
Wrap the foil snugly up the sides of the pan, sealing well to prevent water from leaking in.
Fan the foil edges outward slightly to avoid covering the rim of the pan.
Step 3 – Make the Filling
In a stand mixer fitted with the paddle attachment, beat the softened cream cheese with the sugar on medium-high speed for 5 minutes, scraping the bowl as needed, until completely smooth.
Reduce the speed to medium and add the eggs one at a time, mixing until just incorporated.
Scrape down the bowl after each addition.
Reduce to low and mix in the sour cream and vanilla just until blended.
Step 4 – Pour and Prepare
Pour the cheesecake batter over the cooled crust, smoothing the top with a spatula.
Place the foil-wrapped pan inside a large roasting pan.
Boil a kettle of water and carefully pour hot water into the roasting pan until it comes halfway up the sides of the springform pan (1½–2 inches deep).
Step 5 – Bake the Cheesecake
Transfer the roasting pan to the center oven rack.
Bake at 450°F for 15 minutes, then reduce the oven temperature to 225°F without opening the door.
Continue baking for 60–75 minutes, until the center jiggles slightly when gently shaken but is no longer liquid.
Step 6 – Cool Gradually
Turn off the oven and let the cheesecake sit inside for another hour with the door slightly ajar.
Then remove the roasting pan from the oven and let the cheesecake rest in the hot water for 45 minutes.
Step 7 – Chill Before Serving
Transfer the cheesecake to a wire rack and cool completely at room temperature.
Cover the pan loosely with plastic wrap (without touching the surface) and refrigerate overnight to set.
Slice and serve the next day for best flavor and texture.
What to Serve It With
Berry Compote – Blueberry, raspberry, or mixed berries are fantastic
Whipped Cream – A dollop adds lightness and contrast
That – For a sweeter, more decadent finish
Fresh Fruit – Strawberries, kiwi, or mango slices bring freshness
Espresso or Dessert Wine – Pair with coffee or something bubbly for a full dessert experience
Variations / Substitutions
Oreo Crust – Swap graham crackers for crushed Oreo cookies
Citrus Zest – Add lemon or orange zest to the batter for a fresh twist
Mini Cheesecakes – Bake in a muffin tin for individual servings
Chocolate Version – Add melted dark chocolate to the batter
Gluten-Free – Use gluten-free cookies or almond flour for the crust
Storage & Leftovers
Refrigerate – Store covered in the refrigerator for up to 5 days
Freeze – Freeze whole or sliced, tightly wrapped, for up to 2 months
Thawing Tips – Thaw overnight in the fridge for best texture
Transporting – Keep chilled with an ice pack if taking to an event
Serving Later – Let sit at room temperature for 15–20 minutes before slicing
FAQs
Do I need to use a water bath?
Yes! It helps bake the cheesecake evenly and reduces the risk of cracks.
Can I use low-fat cream cheese?
Full-fat is highly recommended for texture and flavor.
Low-fat may yield a thinner, less creamy result.
My cheesecake cracked. What happened?
Overmixing, skipping the water bath, or cooling too quickly can cause cracks.
Don’t worry—it still tastes great and can be covered with toppings.
Can I make it ahead?
Yes, this cheesecake is actually better the next day!
Chill for at least 4 hours, ideally overnight.
What’s the best way to slice cheesecake?
Use a thin, sharp knife dipped in hot water and wiped dry between cuts for clean slices.
Can I bake this without a springform pan?
A springform pan is best, but in a pinch, you can use a deep cake pan lined with parchment and foil for easy lifting.
How do I know when it’s done baking?
The center should jiggle like set Jell-O, not ripple like a liquid.
It will continue setting as it cools.
Final Thoughts
This classic cheesecake recipe is the ultimate dessert for special occasions or cozy weekends at home.
With its buttery crust and luscious filling, every bite is smooth and satisfying.
Follow the tips and steps above, and you’ll have a flawless cheesecake that rivals any bakery.
 My name is Isabella, and this space was born from years of stirring sauces at sunset, baking cookies while the kids played on the porch, and finding comfort in a homemade meal after long, busy days. Here you’ll find delicious, reliable recipes made with simple ingredients, plus easy step-by-step photos and videos to help you cook confidently at home.