
There’s something so comforting about a chilled bowl of banana pudding.
For me, it brings back memories of family reunions, potlucks, and warm-weather weekends where this dreamy dessert always disappeared first.
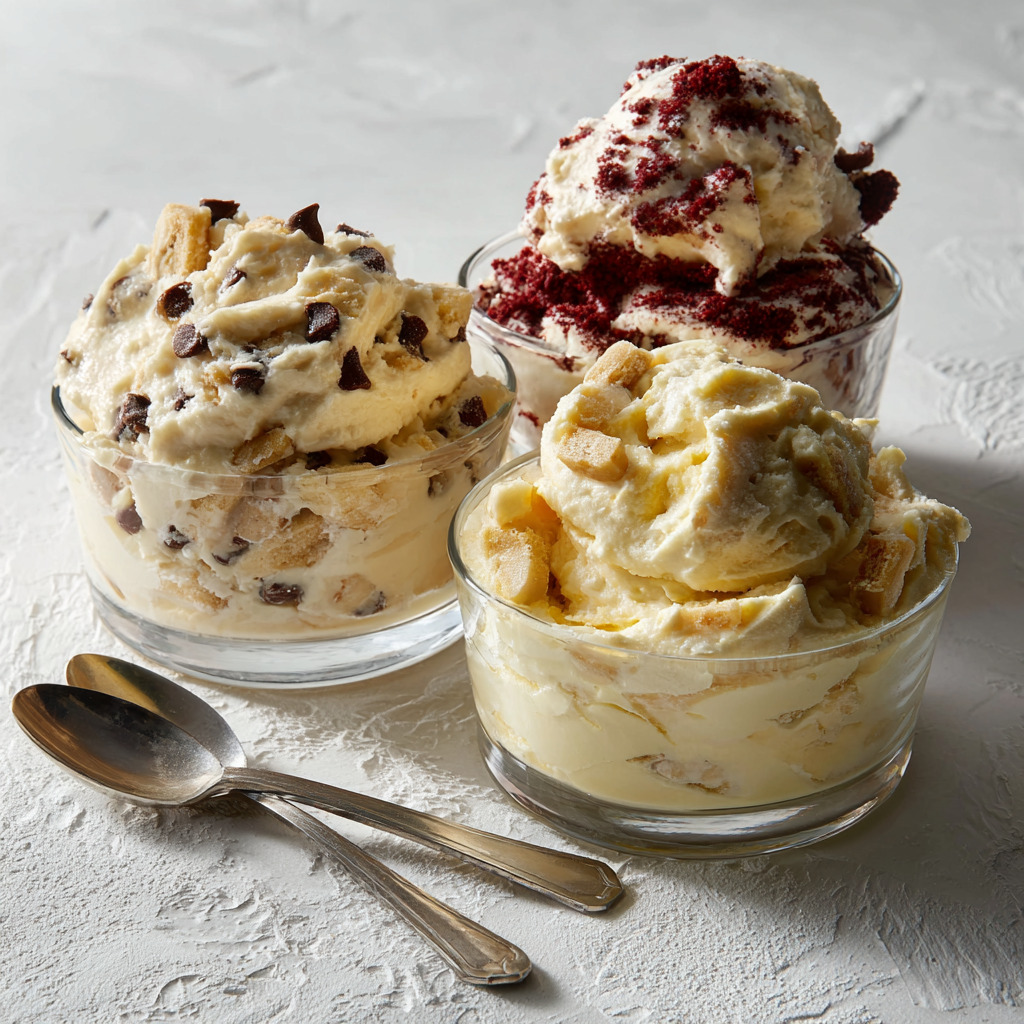
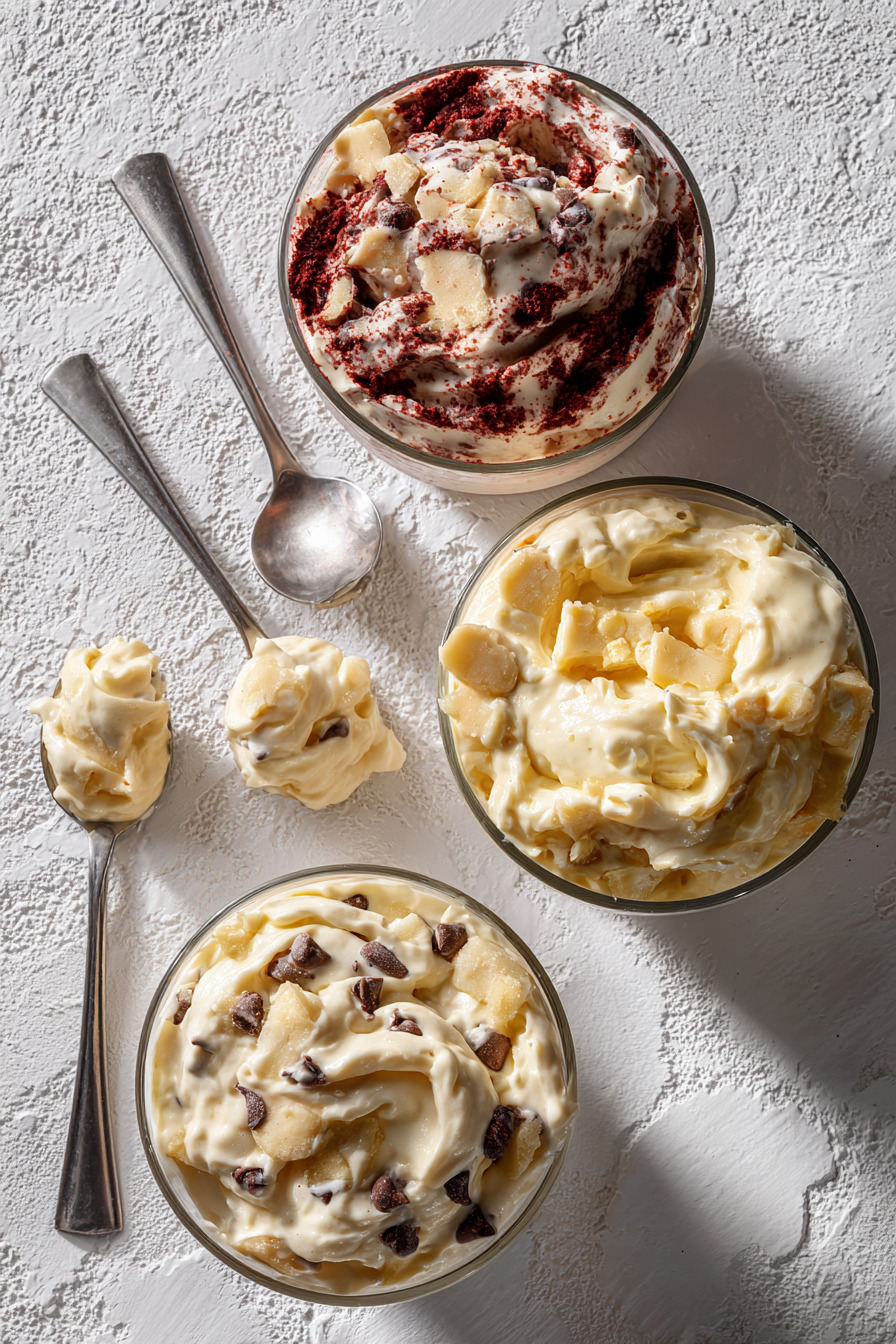
This version is rich, creamy, and full of banana flavor layered between clouds of vanilla pudding and crunchy-soft vanilla wafers.
Whether you’re making it for a party or just because you need something cozy and sweet, this banana pudding recipe never disappoints.
Why You’ll Love This Recipe
Rich and creamy texture – A perfect mix of whipped cream, pudding, and fresh bananas.
Make-ahead friendly – Preps beautifully in advance for gatherings.
Layered nostalgia – Classic vanilla wafers and ripe bananas never go out of style.
No baking required – Just chill, layer, and enjoy.
Impressive presentation – Looks stunning in a glass trifle bowl.
What You’ll Need (Ingredient Highlights)
Sweetened condensed milk – The base that adds rich sweetness and smooth consistency.
Instant vanilla pudding mix – Helps the dessert set quickly with flavor and body.
Heavy cream – Whipped to stiff peaks, it creates the luxurious texture.
Nilla Wafers – The classic choice! No substitutions for that nostalgic crunch-soft bite.
Fresh bananas – Slice them just before layering for best color and flavor.
Ice-cold water – Helps activate the pudding and keep it light.
Pro Tips Before You Start
Let the pudding base chill properly – Don’t rush this step or the texture will suffer.
Use very cold water – It ensures the pudding thickens as it should.
Fold gently – When combining whipped cream and pudding, take your time to keep it fluffy.
Use a glass bowl if possible – It lets you show off the gorgeous layers.
Don’t overchill – Enjoy within 8 hours for best texture (the wafers stay slightly crisp!).
How to Make Creamy Banana Pudding
Step 1: Prepare the Pudding Base
In a small bowl, use an electric mixer on medium speed to beat together the sweetened condensed milk and ice-cold water until fully combined and smooth.
This should take about 1 minute.
Add the instant vanilla pudding mix and beat for another 2 minutes until thickened.
Cover and refrigerate for at least 3–4 hours (or overnight) to allow the mixture to set properly.
Step 2: Whip the Cream
In a separate large bowl, whip the heavy cream on medium speed until stiff peaks form.
Be patient—this is key to getting the light and airy texture.
Step 3: Combine Cream and Pudding
Take the chilled pudding mixture from the fridge and gently fold it into the whipped cream using a spatula.
Mix just until no streaks remain and the mixture is fully blended.
Step 4: Slice the Bananas
Right before assembling, slice your bananas.
This helps prevent browning and keeps them fresh.
Step 5: Layer the Dessert
In a large glass bowl or trifle dish, begin with a layer of vanilla wafers, overlapping them to cover the bottom.
Add a layer of sliced bananas, followed by a layer of the pudding-cream mixture.
Repeat the layers two more times, finishing with pudding on top.
Step 6: Garnish and Chill
Add a few extra vanilla wafers or crushed wafer crumbs to the top for garnish.
Cover tightly with plastic wrap and refrigerate for at least 4 hours before serving—but no more than 8 hours, so the wafers retain a bit of bite.
What to Serve It With
Iced coffee or sweet tea – Classic Southern pairing.
BBQ meals or fried chicken – Makes a great cool finish to hearty dishes.
Fresh mint leaves – For a little color and contrast on top.
Light fruit salad – Balances the sweetness with brightness.
Variations / Substitutions
Use banana pudding mix – For even more banana flavor.
Swap whipped topping – Store-bought whipped topping can be used in a pinch.
Add layers of crushed graham crackers – For a slightly different texture.
Make it mini – Assemble in individual dessert cups or mason jars.
Drizzle with caramel – Adds a decadent, gooey twist.
Storage & Leftovers
Refrigerator – Best enjoyed within 6–8 hours. After that, the bananas may brown, and wafers soften too much.
No freezing – This dessert doesn’t freeze well due to the fresh banana and cream layers.
Prep ahead – You can prepare components ahead and assemble just before serving.
FAQs
Can I make this a day in advance?
You can prep the pudding and whip the cream in advance, but assemble it no more than 8 hours before serving for best texture.
Can I use banana-flavored pudding instead of vanilla?
Absolutely. It will intensify the banana flavor.
What if I don’t have Nilla Wafers?
They’re essential for the classic texture.
But in a pinch, shortbread cookies or graham crackers can work.
How do I keep the bananas from browning?
Slice them just before layering, and don’t leave the dessert uncovered in the fridge.
Can I use Cool Whip instead of heavy cream?
Yes, but homemade whipped cream gives a fresher, richer flavor.
Is this dessert overly sweet?
Not at all. It’s balanced between the creamy filling, fresh bananas, and mildly sweet wafers.
Can I make this into a pie or bars instead?
Definitely! Use a graham cracker crust or cookie crust and layer it the same way for a sliceable version.
Final Thoughts
This banana pudding is one of those timeless desserts that never fails to impress.
It’s light, creamy, and layered with so much comforting flavor.
I love making it when I want something sweet but low-effort—and it always gets devoured.
If you’re looking for a no-bake dessert that feels both nostalgic and indulgent, this is it.

Creamy Banana Pudding
Ingredients
Method
- In a small bowl, beat the sweetened condensed milk and cold water with an electric mixer on medium speed for about 1 minute.
- Add the instant pudding mix and beat for another 2 minutes until slightly thickened.
- Cover and refrigerate for 3–4 hours or overnight.
- In a large bowl, whip the heavy cream on medium speed until stiff peaks form.
- Gently fold the chilled pudding mixture into the whipped cream until fully combined with no streaks.
- Slice bananas just before assembling.
- See full steps with tips & photos → https://theboatshedcafe.com/creamy-banana-pudding/