
There’s something wonderfully fun about turning a slice of watermelon into a vibrant, healthy pizza.
Every time I make this watermelon fruit pizza, it feels like a mini celebration—fresh, colorful, and bursting with natural sweetness.
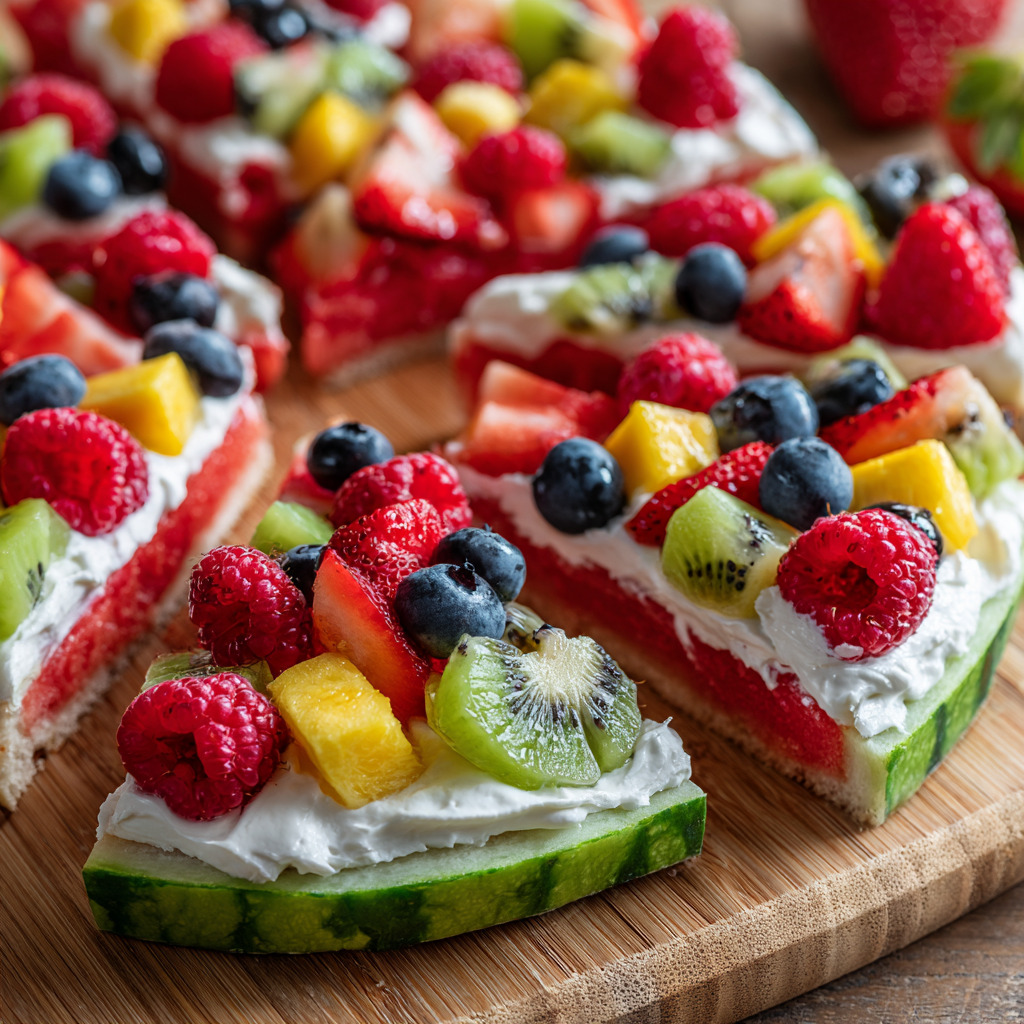
With creamy yogurt “sauce,” juicy fruit toppings, and the satisfying crunch of chilled watermelon, it’s the easiest no-bake dessert that still feels festive and special.
Why I Love This Recipe
Naturally sweet – No refined sugar needed, just fruit!
Super refreshing – Perfect for hot days or summer brunches.
So easy – Just slice, spread, and top—no oven required.
Kid-friendly – A fun way to get little ones excited about fruit.
Customizable – Use whatever berries or fruits you love.
What You’ll Need (Ingredient Highlights)
Watermelon – Choose round, seedless slices for the “pizza base.”
Greek yogurt – Thick and creamy; makes the perfect “sauce.”
Vanilla extract – Adds warmth and depth to the yogurt.
Lemon juice – Brightens up the flavor with a citrusy zing.
Blueberries – Little pops of color and juicy sweetness.
Raspberries – Tangy and soft, they contrast nicely with the yogurt.
Strawberries – Slice them thin for sweet, vibrant layers.
Kiwi – Bright green and slightly tart, it balances the flavor beautifully.
Pro Tips Before You Start
Use chilled watermelon – It’s crispier and more refreshing when cold.
Pat fruit dry – Prevents excess moisture from making the pizza soggy.
Slice evenly – Try to keep the watermelon slices uniform for easier cutting.
Don’t overload – Less is more when topping to keep the “pizza” intact.
Serve fresh – This is best enjoyed right after assembly.
How to Make Watermelon Fruit Pizza
Step 1: Prep the Watermelon
Cut two round slices of watermelon, each about 1 inch thick.
Lay them flat on a large cutting board or serving plate.
Step 2: Mix the Yogurt Base
In a small bowl, combine Greek yogurt, vanilla extract, and lemon juice.
Stir until smooth and creamy.
Step 3: Spread the “Sauce”
Evenly spread the yogurt mixture over each watermelon slice, just like you would sauce on a pizza.
Step 4: Add the Toppings
Top each yogurt-covered slice with a mix of blueberries, raspberries, strawberries, and kiwi.
Distribute evenly and artfully for the best visual appeal.
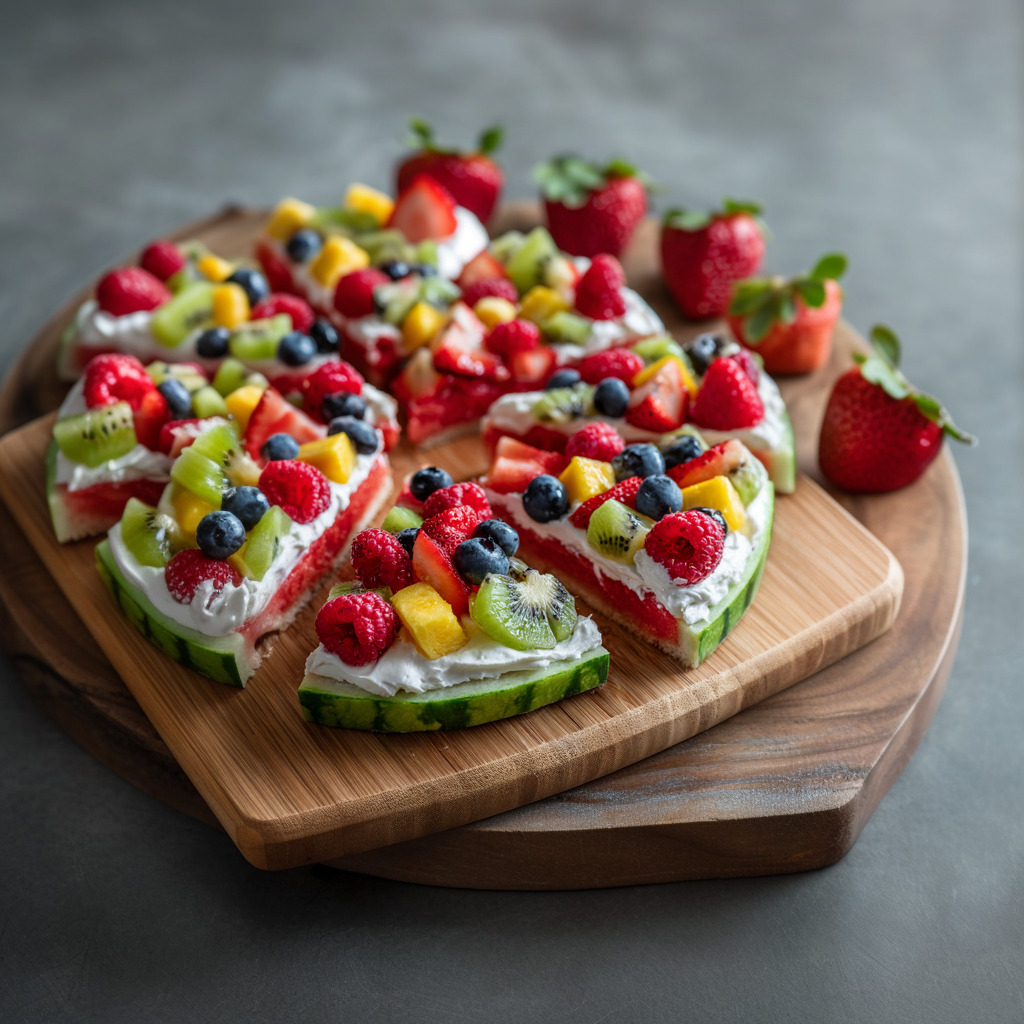
Step 5: Slice and Serve
Use a sharp knife to cut each round into wedges.
Serve immediately and enjoy the refreshing burst of fruit in every bite.
What to Serve It With
Iced green tea or lemonade
A light summer brunch with croissants and cheese
A refreshing fruit punch or mocktail
As a healthy dessert after a barbecue
Variations / Substitutions
Swap the base – Try pineapple rings or cantaloupe slices for a fun twist.
Use flavored yogurt – Strawberry or coconut yogurt adds more flavor.
Add mint – Fresh mint leaves bring a cool herbal note.
Drizzle with honey – For a touch of added sweetness.
Add crunch – Sprinkle granola or chopped nuts on top just before serving.
Storage & Leftovers
Best fresh – Serve right after assembly for best texture and flavor.
Short-term fridge – Store leftovers in an airtight container for up to 1 day.
Avoid freezing – The watermelon becomes too watery when thawed.
Make ahead – Prep the yogurt and fruit separately; assemble just before serving.
Slice only before serving – Keeps everything neater and less soggy.
FAQs
Can I use non-Greek yogurt?
Yes, but make sure it’s thick enough to spread without sliding off the watermelon.
Is this a dessert or a snack?
Both! It’s light enough for a midday snack and sweet enough for a healthy dessert.
Can I make it vegan?
Absolutely—just use a plant-based yogurt and check your toppings.
How do I keep it from getting soggy?
Pat all fruit dry before topping and serve right after assembly.
Can kids help make this?
Yes! It’s a fun, mess-friendly recipe perfect for kids to decorate.
Can I add other fruits?
Of course—mango, peach slices, grapes, or pomegranate seeds all work great.
Can I prep this for a party?
Yes, just keep all elements chilled separately and assemble on-site.
Final Thoughts
This watermelon fruit pizza is everything I want on a hot summer day—easy, cooling, and naturally sweet.
It’s a dish that brings smiles every time I serve it, whether to guests at brunch or just myself for a refreshing treat.
Best of all, it’s customizable, healthy, and downright gorgeous.
 My name is Isabella, and this space was born from years of stirring sauces at sunset, baking cookies while the kids played on the porch, and finding comfort in a homemade meal after long, busy days. Here you’ll find delicious, reliable recipes made with simple ingredients, plus easy step-by-step photos and videos to help you cook confidently at home.