
There’s something incredibly nostalgic about a bowl of banana pudding dessert.
It reminds me of potlucks at grandma’s house, where this creamy, dreamy treat would disappear in minutes.
I still get that same sense of comfort and joy every time I make it.
Why You’ll Love This Recipe
I love how banana pudding dessert is both simple and luxurious.
The layers come together effortlessly, but the final product tastes like something you spent hours on.
It’s crowd-pleasing, perfect for prepping ahead, and ridiculously satisfying.
Plus, it’s no-bake—which is always a bonus in my kitchen!
What You’ll Need (Ingredient Highlights)
Ripe bananas – Choose bananas with freckles; they’re sweeter and softer.
Vanilla wafers – The classic Southern base, offering crunch and a toasty note once softened.
Instant vanilla pudding mix – This gives structure and a rich vanilla flavor to the cream base.
Cold milk – Helps the pudding set properly. Use whole milk for a richer texture.
Sweetened condensed milk – Adds sweetness and depth with a caramel-like undertone.
Cream cheese – Softened to give the base a luscious, cheesecake-like body.
Whipped topping – Fluffy and light, this finishes the dessert with a cloud-like layer.
Pro Tips Before You Start
Let the cream cheese come to room temperature before beating to avoid lumps.
Use a hand mixer or stand mixer to fully incorporate ingredients—no shortcuts!
Chill overnight for best results—the wafers absorb flavor and become cake-like.
Garnish just before serving to keep bananas fresh and wafers crisp.

How to Make Banana Pudding Dessert
Step 1: Beat the Cream Cheese
Place the softened cream cheese in a large mixing bowl.
Beat until it’s fluffy and smooth.
This step ensures your cream base is light and lump-free.
Step 2: Add the Sweetened Condensed Milk
Slowly pour in the sweetened condensed milk while mixing.
Blend thoroughly until the mixture becomes silky and well combined.
Step 3: Mix in the Pudding and Milk
Add the instant pudding mix to the bowl.
Gradually pour in the cold milk while mixing on low speed.
This helps the pudding thicken evenly without clumps.
Step 4: Build the First Layer
In a large glass dish or trifle bowl, create the first layer using vanilla wafers.
Arrange them evenly to form the base of your dessert.
Step 5: Add Bananas
Slice ripe bananas and layer them on top of the wafers.
Try to space them evenly so each spoonful will have banana in it.
Step 6: Pour Pudding Mixture
Spoon the pudding mixture over the banana layer, spreading it gently to cover all the fruit.
Use a spatula to smooth out the top.
Step 7: Repeat Layers
Continue layering wafers, bananas, and pudding until all the ingredients are used up.
Be sure to finish with a layer of pudding on top.
Step 8: Chill the Pudding
Cover the dish with plastic wrap or a lid.
Place in the refrigerator for at least 4 hours—or better yet, overnight.
This helps all the flavors marry and softens the wafers to a cake-like consistency.
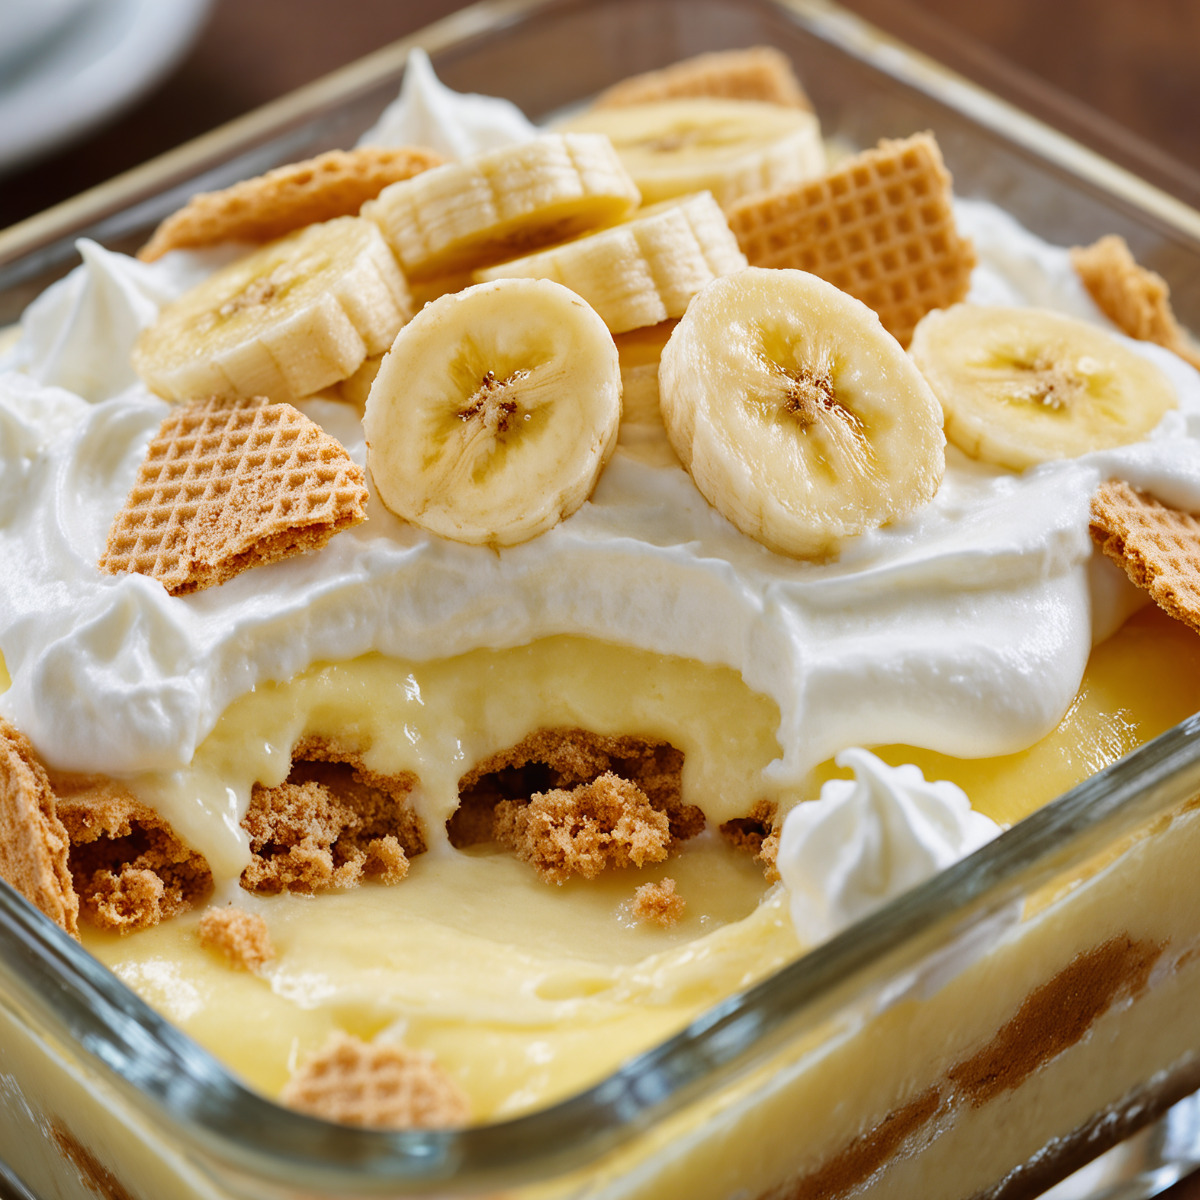
Step 9: Add the Whipped Topping
Just before serving, spread the thawed whipped topping evenly over the top layer of pudding.
It should look fluffy and glossy.
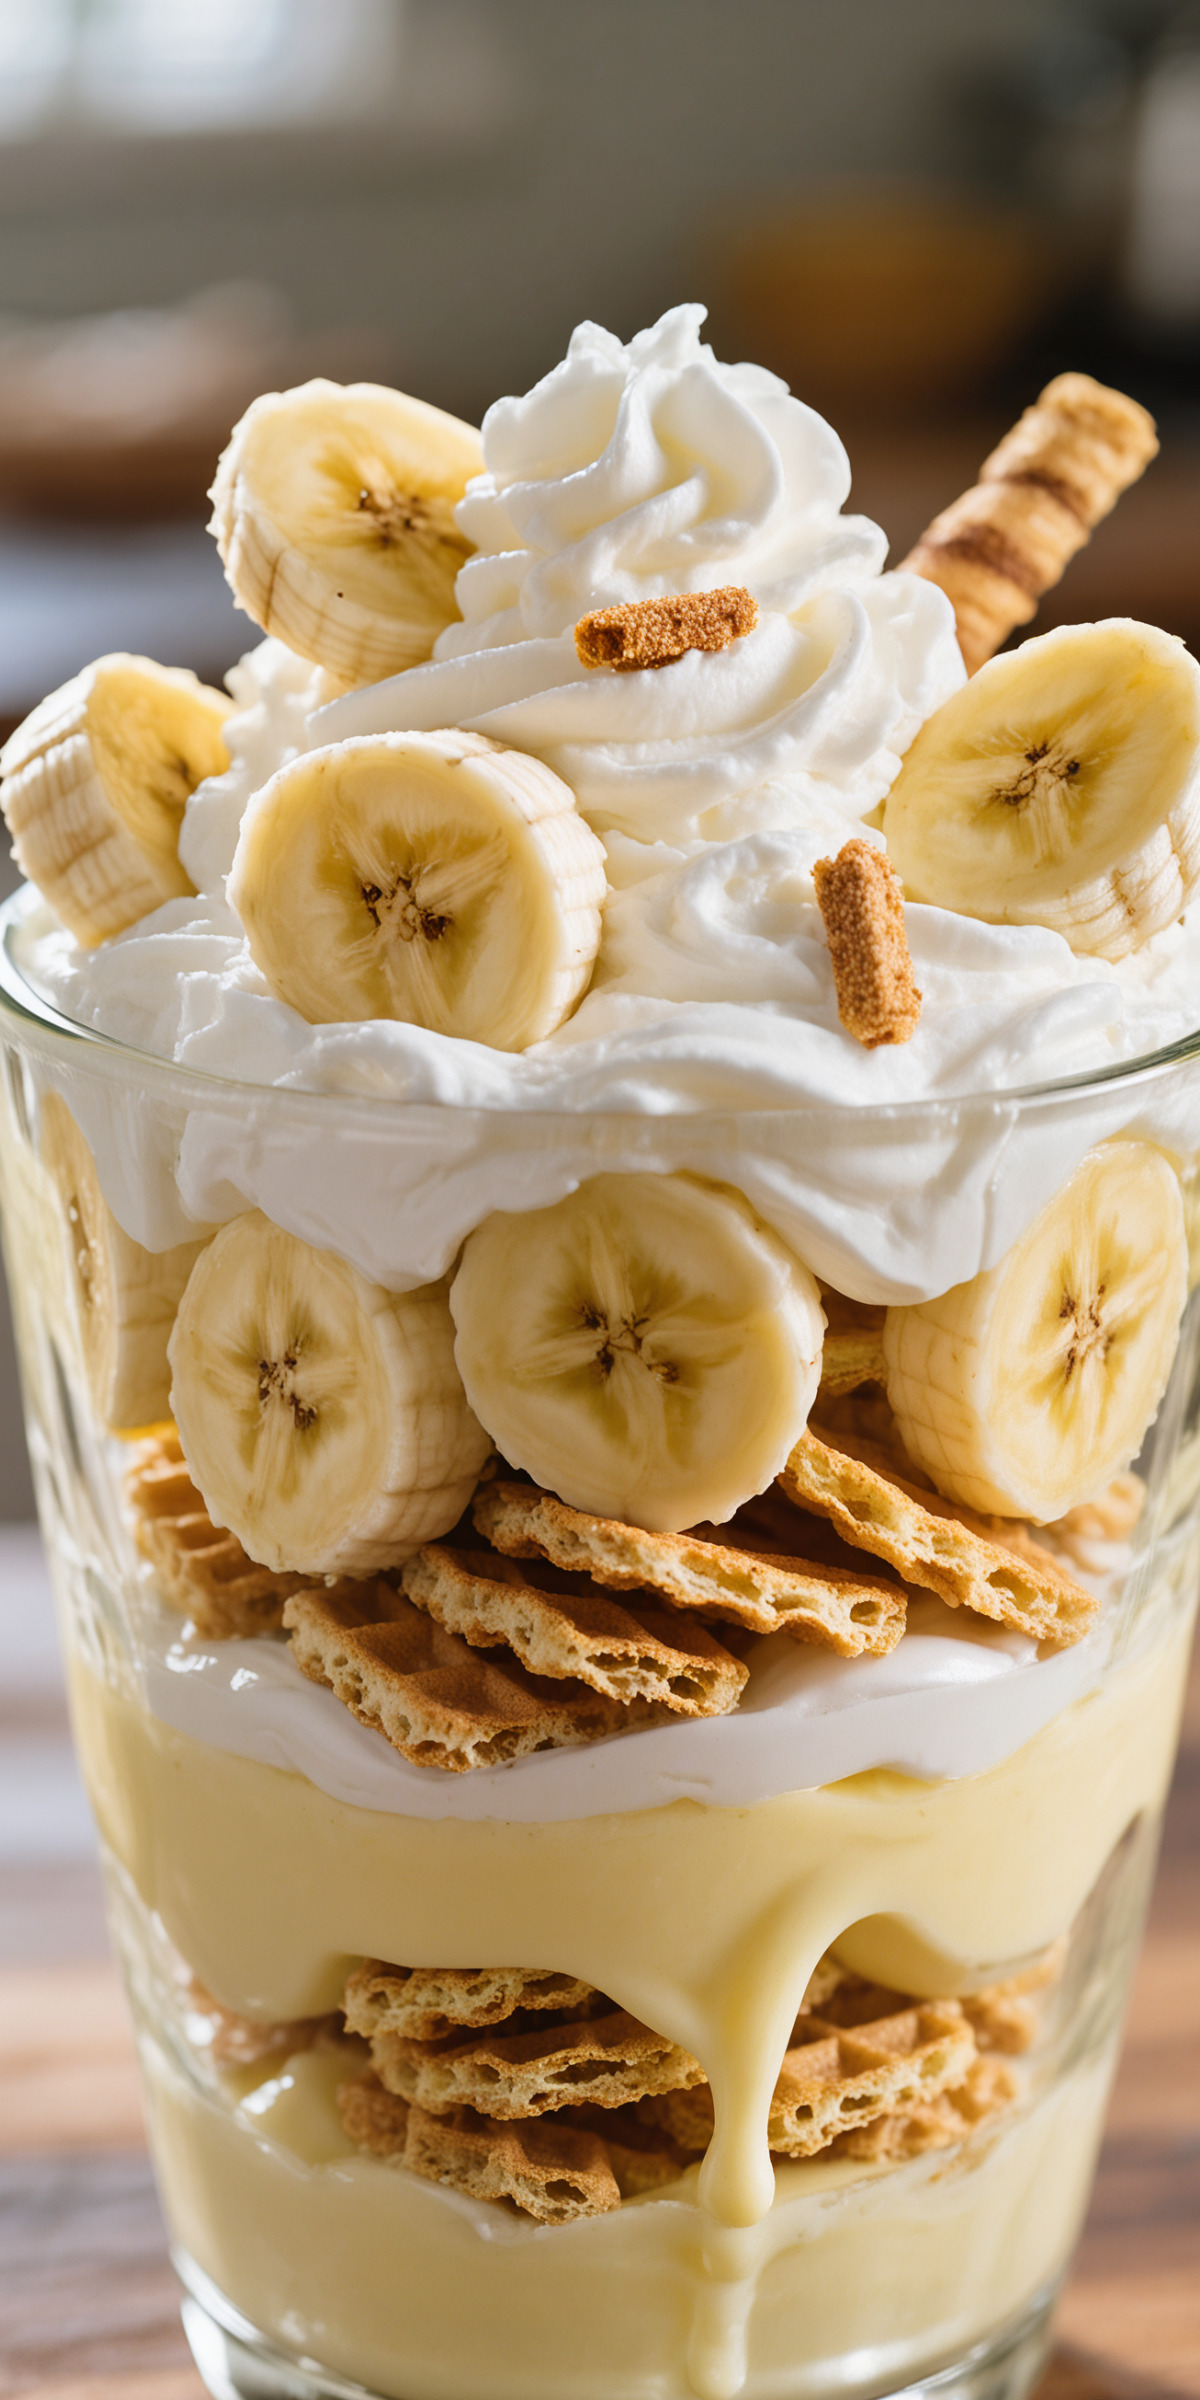
Step 10: Garnish and Serve
Decorate with extra banana slices or vanilla wafers if desired.
Serve chilled, and enjoy every creamy, dreamy bite.
What to Serve It With
This banana pudding dessert pairs beautifully with a hot cup of coffee or a scoop of vanilla ice cream.
It also makes a lovely ending to a Southern-style dinner with fried chicken, cornbread, and greens.
Variations / Substitutions
Swap vanilla wafers for graham crackers or shortbread cookies.
Add a layer of Nutella or peanut butter between the bananas and pudding.
Use banana-flavored pudding for extra banana punch.
For a lighter version, use light cream cheese and sugar-free pudding.
Storage & Leftovers
Store the pudding in an airtight container in the fridge for up to 4 days.
The texture gets creamier with time as the wafers soften further.
Avoid freezing—it changes the consistency.
FAQs
Can I make banana pudding dessert ahead of time?
Yes! It’s actually better after chilling overnight, giving the wafers time to soften and flavors to develop.
Will the bananas turn brown?
Over time, yes. For best presentation, slice and garnish with fresh bananas right before serving.
Can I use homemade whipped cream instead of whipped topping?
Absolutely. Just make sure it’s stabilized so it doesn’t deflate.
Is it okay to use regular cook-and-serve pudding instead of instant?
It’s best to stick with instant pudding for this recipe, as cook-and-serve affects consistency.
Can I make this in individual cups or jars?
Yes! It’s perfect for individual servings—great for parties or portion control.
What can I substitute for cream cheese?
You can use mascarpone or a thick Greek yogurt, but the texture and taste will change slightly.
Can I use almond or oat milk instead of dairy milk?
Possibly, but only if your pudding mix is compatible with non-dairy milk. Check the label!
Final Thoughts
This banana pudding dessert has become a comfort staple in my kitchen. It’s creamy, sweet, and full of banana goodness in every bite.
I always come back to this recipe when I want something no-fuss yet unforgettable.
It’s the kind of dessert that brings smiles at the table—every single time.
Creamy Banana Pudding Dessert
Ingredients
Method
- Beat softened cream cheese in a large mixing bowl until fluffy and smooth.
- Slowly add sweetened condensed milk, mixing until fully combined.
- Add instant pudding mix and pour in cold milk gradually, beating on low until smooth.
- In a large dish, layer vanilla wafers as the base.
- Add a layer of sliced bananas on top.
- Spoon and spread the pudding mixture over the bananas.
- See full steps with tips & photos → https://theboatshedcafe.com/creamy-banana-pudding-dessert/
 My name is Isabella, and this space was born from years of stirring sauces at sunset, baking cookies while the kids played on the porch, and finding comfort in a homemade meal after long, busy days. Here you’ll find delicious, reliable recipes made with simple ingredients, plus easy step-by-step photos and videos to help you cook confidently at home.