
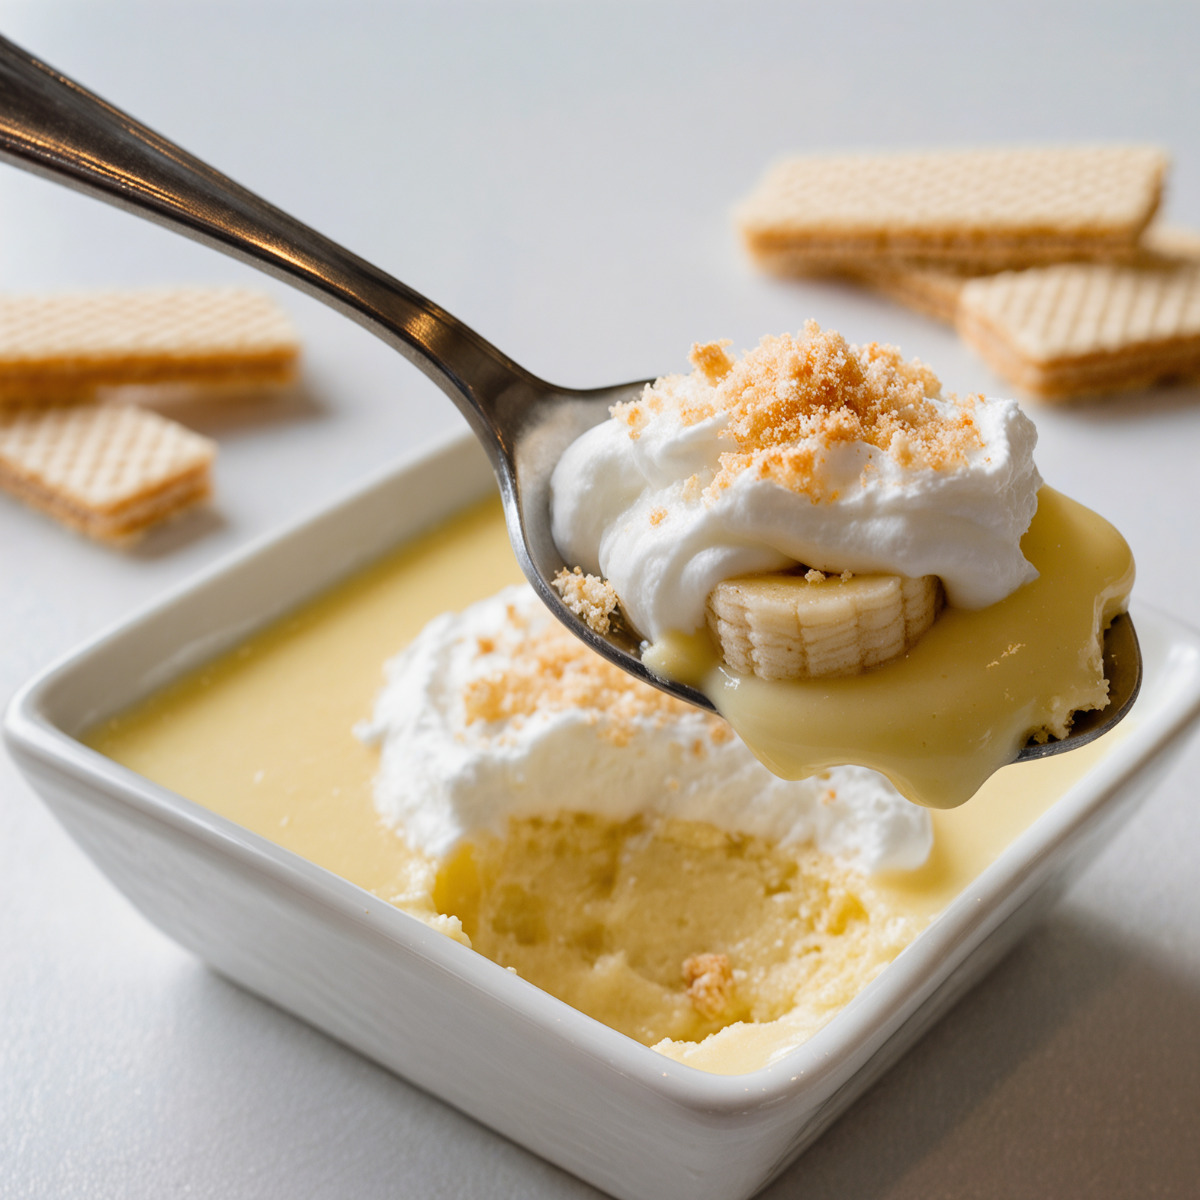
There’s something so nostalgic about banana pudding with Nilla wafers—just the thought of it takes me back to summer potlucks, family BBQs, and Sunday dinners at grandma’s kitchen table.
It’s creamy, cool, and impossibly comforting.
Every bite is a mix of smooth vanilla pudding, fresh banana, and that iconic melt-in-your-mouth Nilla wafer layer.
I’ve made this dessert more times than I can count, and every time, it’s the first thing to disappear.
Best part? No baking required. Just layer, chill, and serve.
Why You’ll Love This Recipe
I adore this pudding for so many reasons. It’s easy enough for a weeknight treat but special enough for holidays.
There’s no oven involved, and the layering process is oddly therapeutic.
Plus, it’s a guaranteed hit with both kids and adults.
Whether you make it for a cookout, church potluck, or just to treat yourself on a hot day, this banana pudding with Nilla wafers always brings smiles.
What You’ll Need (Ingredient Highlights)
Vanilla Instant Pudding Mix: Creates that creamy base in minutes—no cooking needed.
Just make sure it’s instant, not cook-and-serve.
Cold Milk: Helps thicken the pudding and brings it all together.
Bananas: Use ripe, firm bananas for the best texture and natural sweetness.
Cool Whip: Makes everything light, fluffy, and dreamy.
Nilla Wafers: These cookies soften just enough to become cake-like but still hold shape.
Don’t substitute—they’re essential!
Pro Tips Before You Start
Choose bananas that are yellow with small brown specks—not overly ripe or mushy.
Whisk the pudding thoroughly until no lumps remain, then let it sit for a few minutes to thicken before folding in Cool Whip.
Letting the pudding sit overnight in the fridge gives the wafers time to soften into cake-like layers.
Garnish with banana slices just before serving to prevent browning.
Want it prettier? Layer it in a glass trifle dish for a showstopping presentation.
How to Make Banana Pudding with Nilla Wafers
Step 1. Mix the Pudding
In a large mixing bowl, whisk together the vanilla instant pudding mix and cold milk.
Stir until thick and smooth.
Step 2. Add Cool Whip
Gently fold in half of the Cool Whip until well blended and creamy.
Step 3. Create First Cookie Layer
Line the bottom of a 9×13-inch baking dish with a single layer of Nilla wafers.
Step 4. Add Banana Slices
Place a layer of sliced bananas evenly over the cookies.
Step 5. Spoon in the Pudding
Spread half of the pudding mixture over the banana slices.
Use a spatula to smooth it out.
Step 6. Repeat Layers
Add another layer of Nilla wafers, followed by more sliced bananas, then top with the remaining pudding mixture.
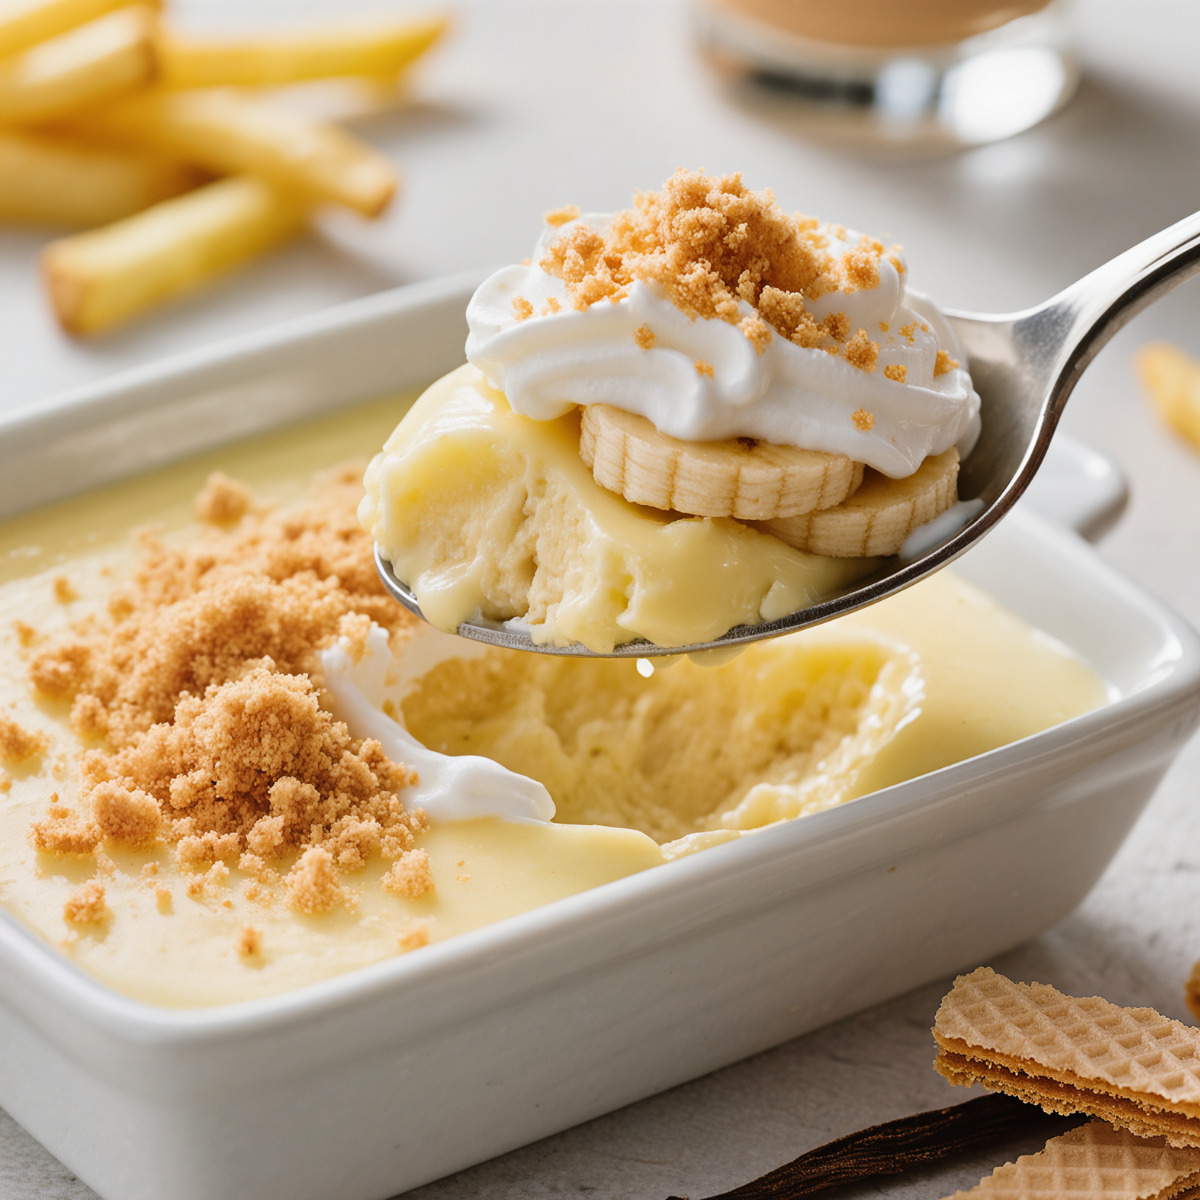
Step 7. Finish with Whipped Topping
Spread the rest of the Cool Whip evenly over the top pudding layer.
Step 8. Chill and Garnish
Cover and refrigerate for at least 2 hours or overnight.
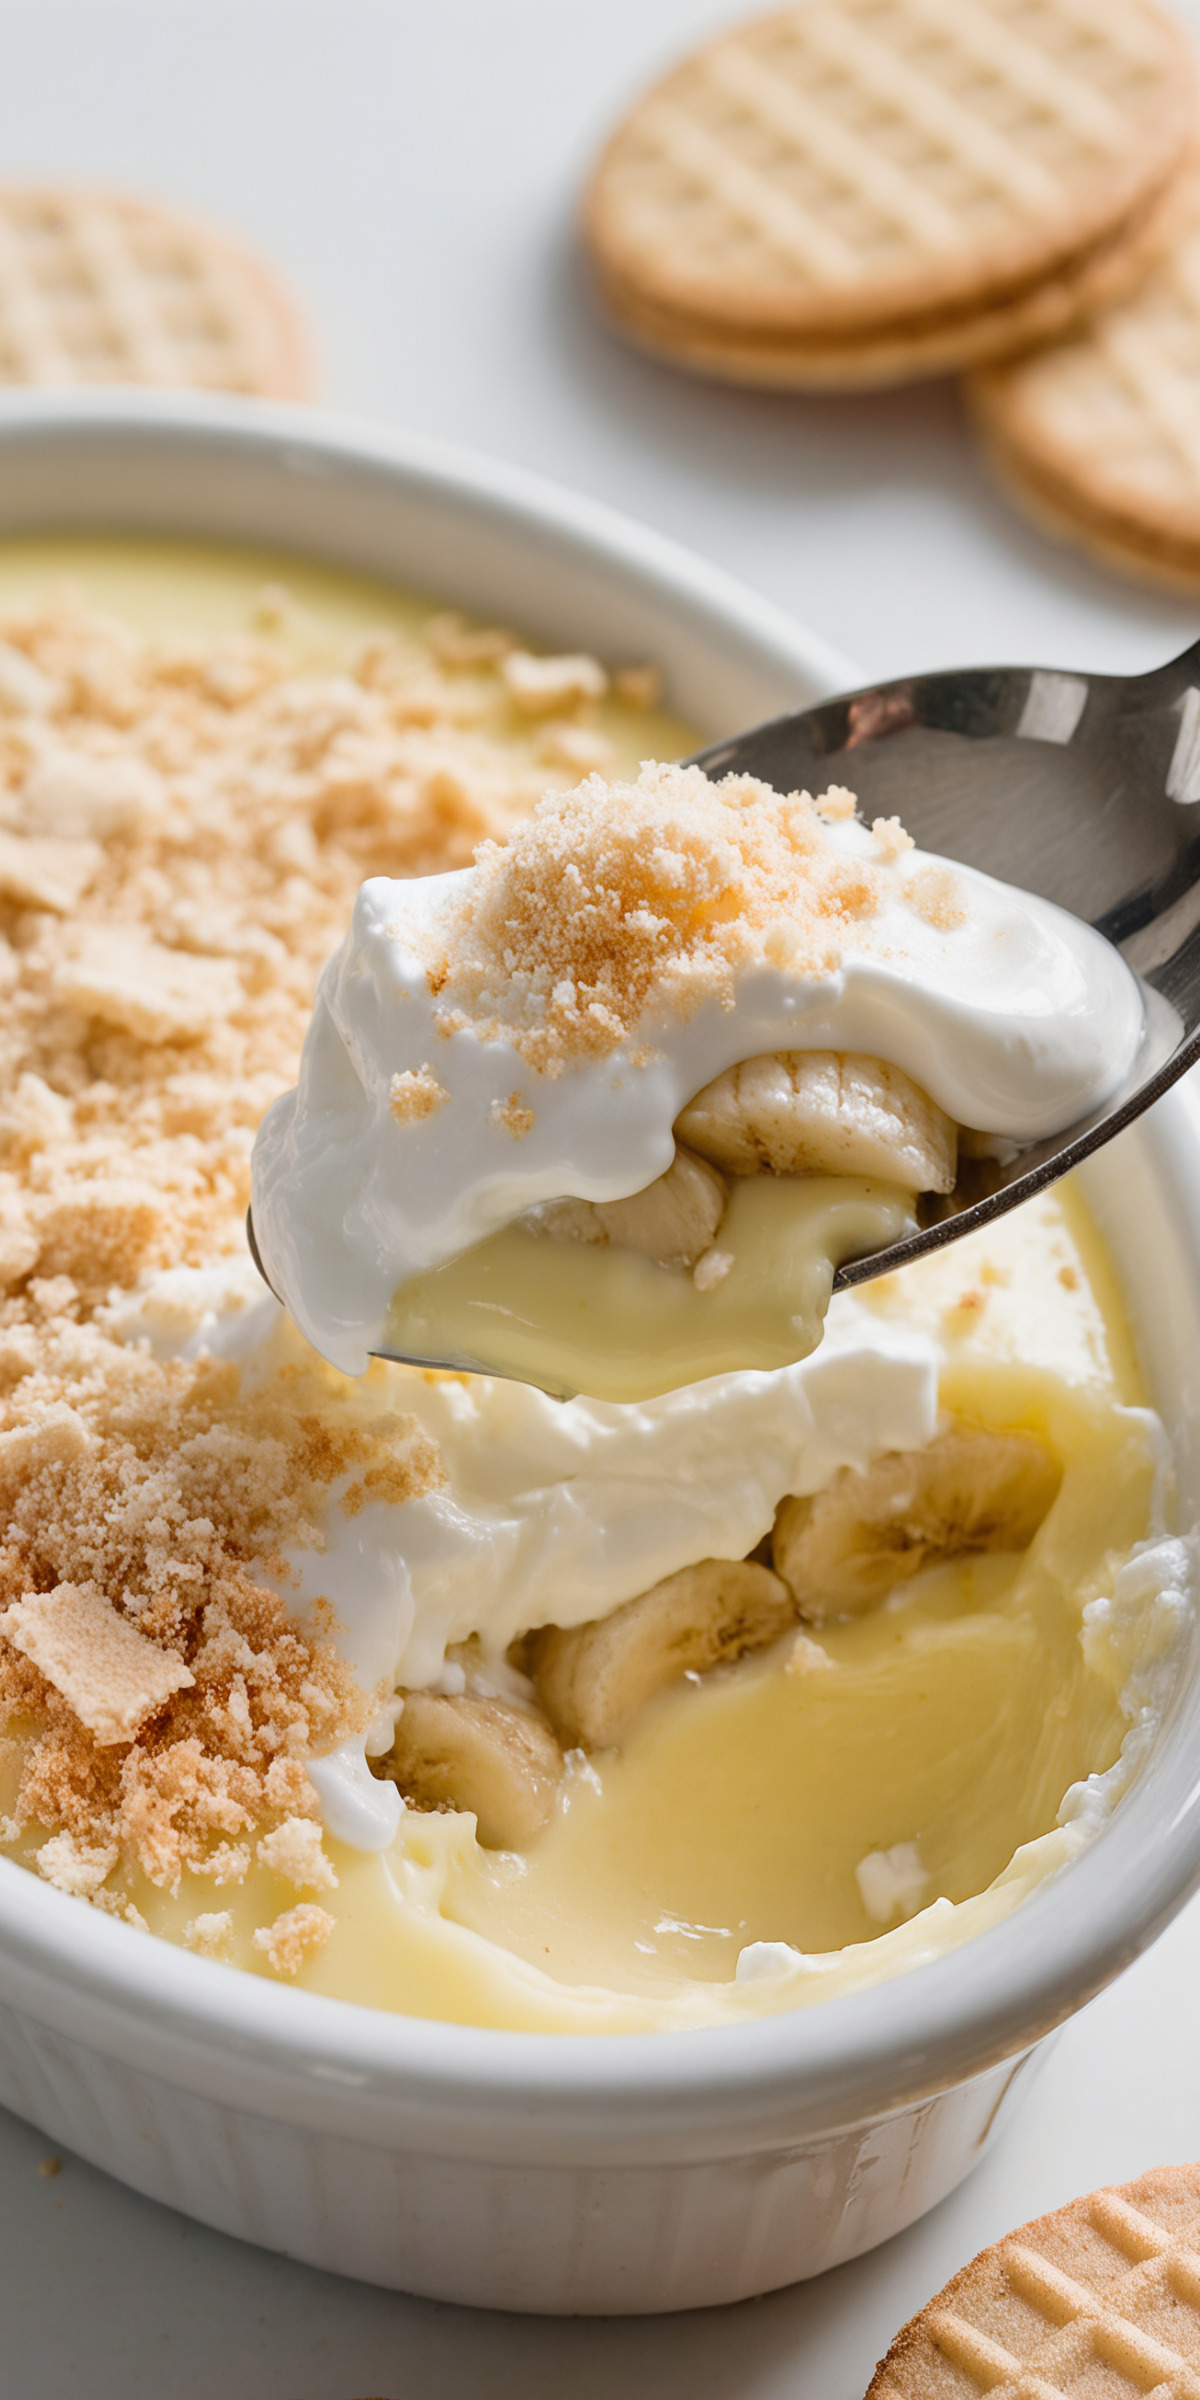
Before serving, garnish with additional banana slices and crushed Nilla wafers if desired.
What to Serve It With
This dessert is a star on its own, but here are some great pairing ideas:
After a BBQ dinner (especially ribs or pulled pork)
Alongside iced sweet tea or cold brew coffee
With a drizzle of caramel sauce for extra indulgence
Variations / Substitutions
Pudding Flavor: Swap vanilla for banana or French vanilla instant pudding.
Whipped Topping: Use homemade whipped cream for a fresher flavor.
Cookies: If you can’t find Nilla wafers, shortbread or graham crackers work in a pinch.
Layer Style: Make individual cups using mason jars or dessert cups—perfect for parties!
Storage & Leftovers
Store covered in the refrigerator for up to 3 days.
Do not freeze—bananas will brown and the texture will become mushy.
Add garnishes like banana slices and cookie crumbles right before serving to keep them fresh and crisp.
FAQs
Can I make this banana pudding ahead of time?
Yes! In fact, it tastes even better the next day after the flavors blend and the cookies soften.
What kind of pudding should I use?
Always use instant vanilla pudding mix.
Cook-and-serve won’t set the same way in this recipe.
How do I keep the bananas from browning?
Use fresh, firm bananas and slice them just before layering.
Optionally, toss them lightly in lemon juice.
Can I use fresh whipped cream instead of Cool Whip?
Absolutely! Whip 1 cup of heavy cream with 2 tablespoons of powdered sugar until stiff peaks form.
Can I use a trifle bowl instead of a baking dish?
Yes, and it looks stunning! Just repeat the same layering process vertically.
What’s the best way to serve it?
Cold, straight from the fridge, with extra crushed wafers and banana slices on top.
Is this recipe kid-friendly?
Very much so! Kids love the banana-cookie combo, and it’s a fun recipe they can help assemble.
Final Thoughts
This banana pudding with Nilla wafers is more than just a dessert—it’s a bite of comfort, a taste of tradition, and a memory waiting to be made.
Every spoonful is layered with love, simplicity, and sweet joy.
So the next time you need a no-fail, crowd-pleasing dessert, remember this recipe.
It’s the kind of classic that never goes out of style—and always gets devoured.
No-Bake Banana Pudding
Ingredients
Method
- In a large mixing bowl, whisk together the pudding mix and cold milk until smooth and thick.
- Fold in half of the Cool Whip until well combined.
- Arrange a layer of Nilla wafers at the bottom of a 9x13-inch baking dish.
- Layer sliced bananas evenly over the wafers.
- Spoon half of the pudding mixture over the banana slices and smooth it out.
- Repeat with another layer of cookies, bananas, and the rest of the pudding.
- See full steps with tips & photos → https://theboatshedcafe.com/no-bake-banana-pudding/
Notes
- Use ripe but firm bananas to prevent browning and sogginess.
- Let the pudding chill fully for the best texture and flavor blend.
- You can use banana-flavored pudding for extra banana taste.
 My name is Isabella, and this space was born from years of stirring sauces at sunset, baking cookies while the kids played on the porch, and finding comfort in a homemade meal after long, busy days. Here you’ll find delicious, reliable recipes made with simple ingredients, plus easy step-by-step photos and videos to help you cook confidently at home.